To install MongoDB on Windows, first, you will have to download the installation file from the official MongoDB website.
You should download the correct file for your operating system like 32 bit or 64 bit. If you are not sure about it, just use the below command to check your OS version.
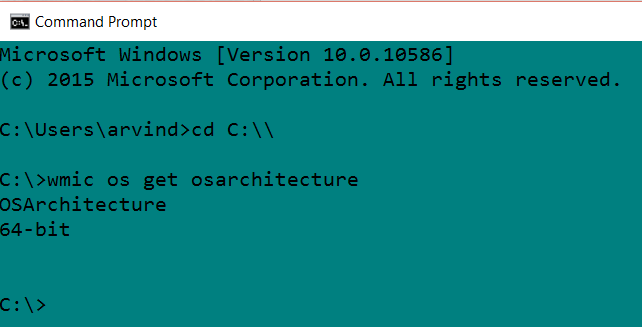
C:\>wmic os get osarchitecture
Depending on your OS version, select the download package from the drop down and download the MongoDB installation file which will be about 100 MB.
By default, it will be downloaded in the “downloads” folder on your system.
Install MongoDB on Windows
Locate the downloaded MSI file and simply double click it. You will have to follow few step to install it easily.
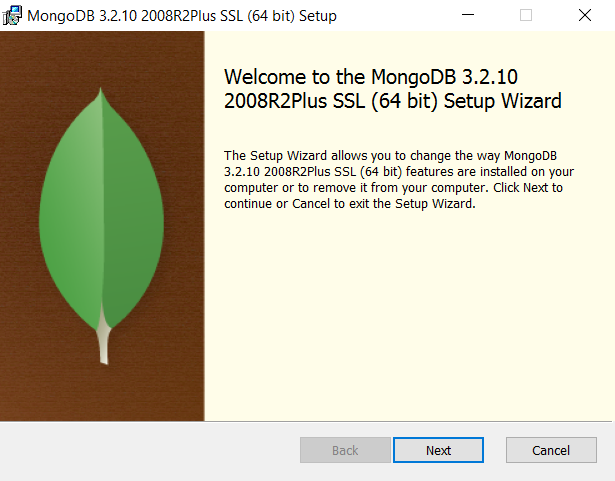
Once you will complete the installation, you will have to do some basic setup to configure MongoDB.
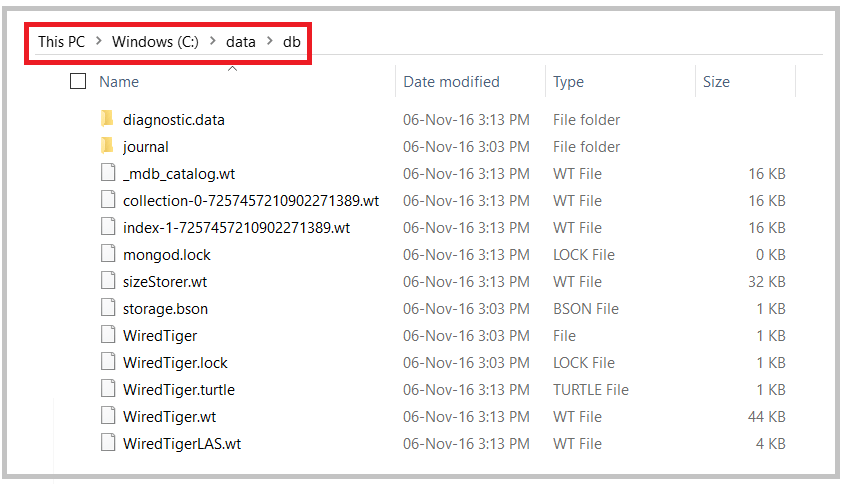
MongoDB requires a data folder to store its files. The default location for the MongoDB data directory is c:\data\db. So you need to create this folder using the Command Prompt. Just create the below folder using the commands shown below-
C:\>md data
C:\md data\db
Now you will have to start the services to run MongoDB.
Once you will install MongoDB on Windows, you will find some files extracted and stored in the below folder of your system.
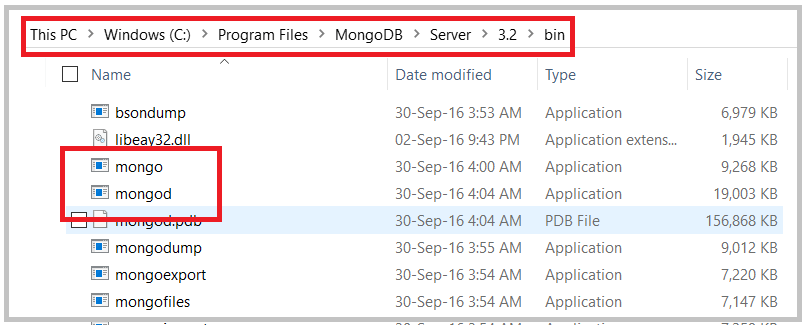
Folder: C:\Program Files\MongoDB\Server\3.2\bin
You will need the highlighted two files mongo.exe and mongod.exe to start the MongoDB on windows.
Start MongoDB
To start MongoDB, you will have to execute the following command.
C:\>"\Program Files\MongoDB\Server\3.2\bin\mongod.exe"

Here the system will ask you about the connection. Here do not make mongod.exe visible on public networks without running in “Secure Mode” with the auth setting. MongoDB is designed to be run in trusted environments, and the database does not enable “Secure Mode” by default.
So select the Home/Private mode for the connection here.
Note: Here you will be getting the last line something like “waiting for connections on port 27017”. Ignore that. Just open another command prompt and start with the next step.
Connect to MongoDB
To connect MongoDB through Mongo.exe, open another command prompt and execute the below command-
C:\>"\Program Files\MongoDB\Server\3.2\bin\mongo.exe"

With this, you have installed MongoDB successfully on your windows system!
DB Help in MongoDB
If you any help related to MongoDB just type db.help() in the command prompt and it will show you all the available commands.
Command: db.help()
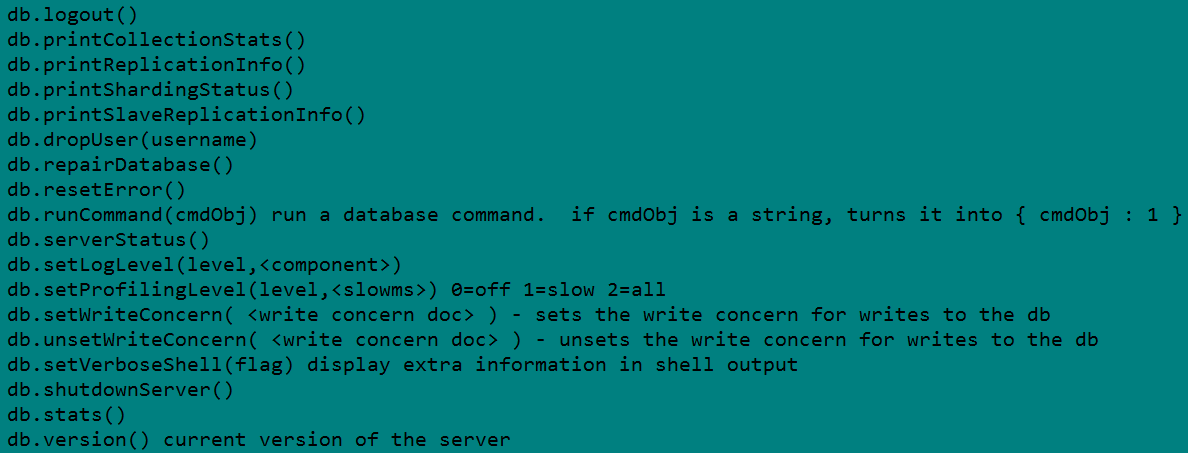
Now you can simply do the operation you want to perform. No need to go to any shell.
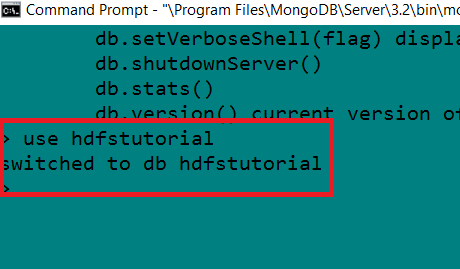
For example, we want to create a database named “hdfstutorial”. Just use the below command and your database will be created.
Command: use hdfstutorial
Conclusion
This was all about how to install MongoDB on Windows. I hope you got the exact steps to install MongoDB on Windows operating system.
Do try and let me know if you will face any issue. The same method is used to install MongoDB on windows 10 or any other windows OS.

Hello,
Thanks for sharing such a detailed guide with screenshot.
Worked for me 🙂
Thanks Nitin!
Glad you liked it.
Hi,
Thank you for this post. IT helped me to start with MongoDB and installation.
Thanks again!
Excellent web site you have on Hadoop !!
Thanks for such detailed tutorials.
Great guide to MongoDB installation.
Just one question, do we have to open the connection window everytime?
Hi, I do think this is an excellent website.
Excellent tutorial with images helped to install MongoDB on my Windows system.
Great article!
Able to install successfully 🙂
Worked for me 🙂
Thanks!
Nice and detailed article 🙂
Perfectly worked!
You actually make it seem so easy with your screenshots.
Also, love to know about the YouTube channel, if you have.
hello there and thank you for your detailed guide.
Thanks for the steps.
Really liked the way you have explained the installation steps.
Awesome and details steps.
Thanks for sharing. Able to install now.
Thanks for sharing the screenshots for installation.
As you said, you would be launching the YouTube, is that live now?
Hi,
Got MongoDB installed buddy. Thank you
Thanks for the detailed steps.It worked.
Hello,
Thanks for the detailed tutorial. Any article for Ubuntu installation?
I see your website needs some unique articles.
Thanks for sharing
Hi Ashutosh,
Thank you for this.I am able to install now.